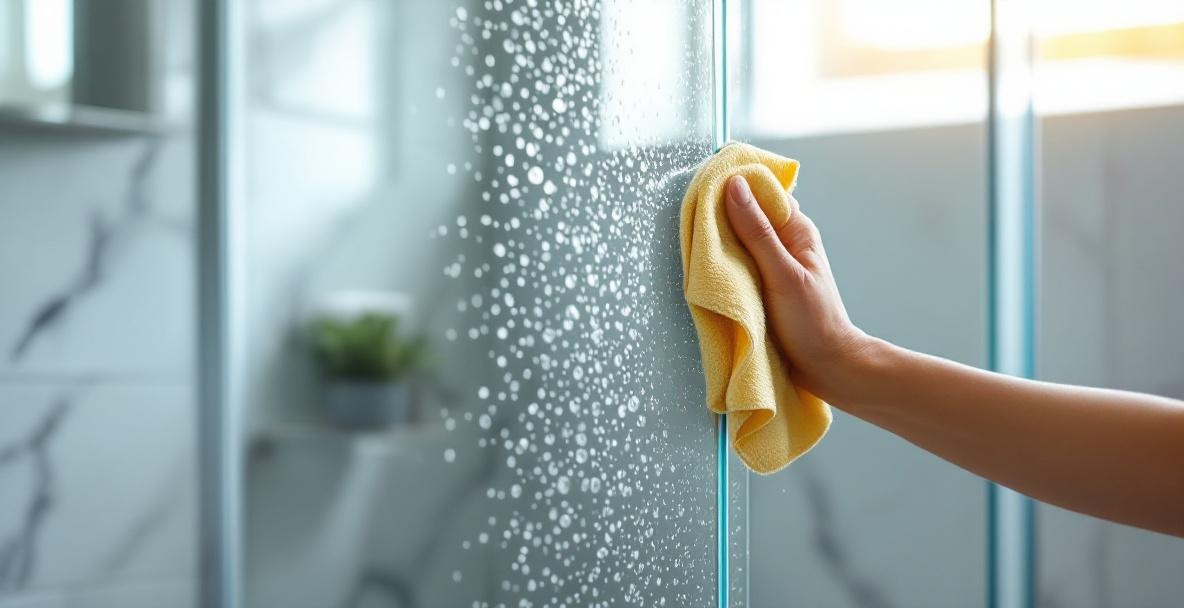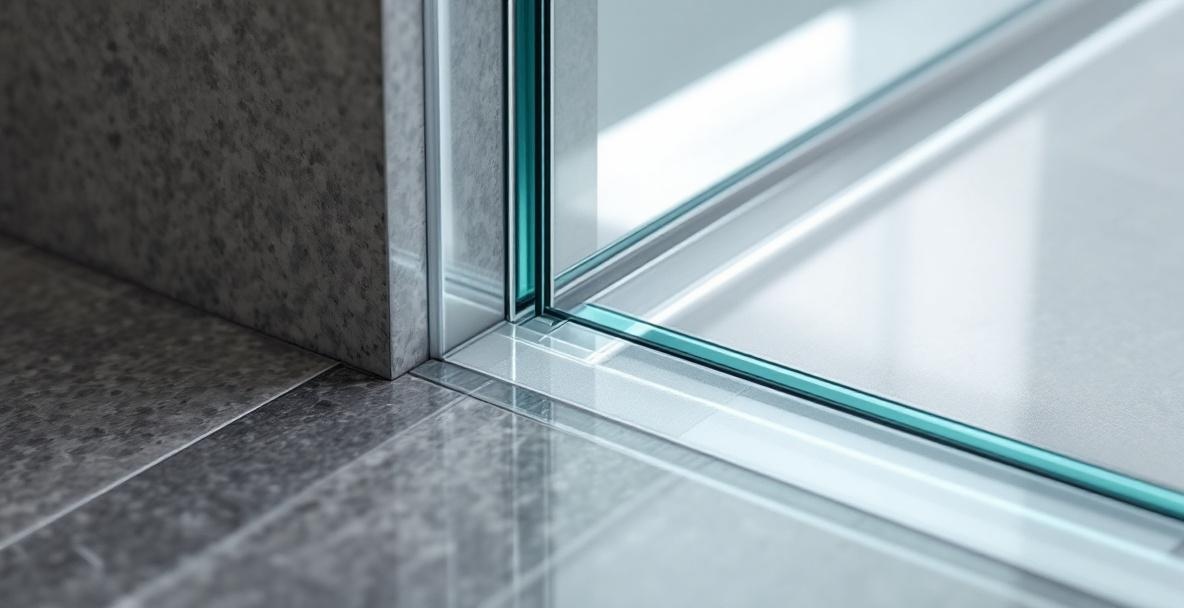
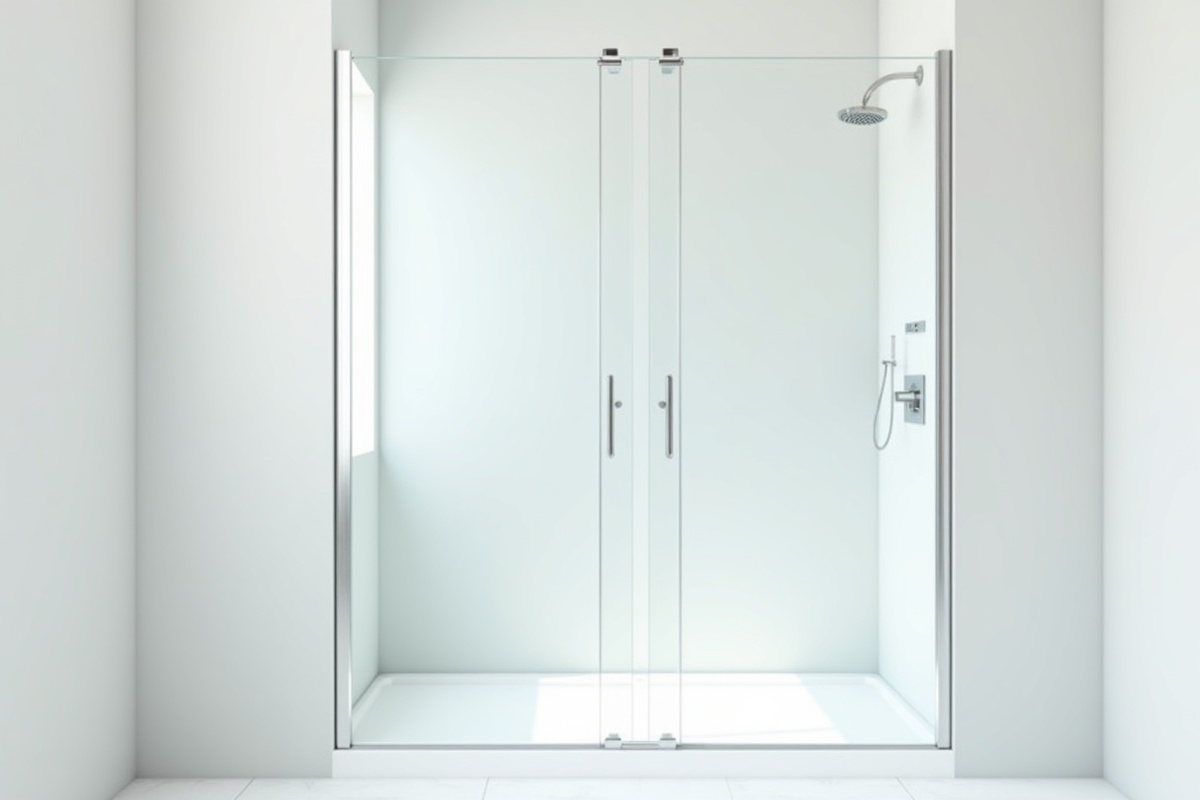
Replacing a shower door seal — the rubber or vinyl strip along the bottom and sides of your shower door — takes 5 to 15 minutes and requires no special tools. Identifying the correct replacement type matters more than the installation itself. The most common seal types are bottom sweeps (friction-fit channels that slide onto the glass edge), side wipes (vertical seals on the door face), and magnetic strips (used on frameless door-to-door closures).
A leaking shower door is almost never a structural problem with the glass or hinges. In 90% of cases it's a failed seal: the rubber or vinyl that creates a watertight closure between the glass door and the floor, the wall, or an adjacent glass panel. These components are designed to be replaced — they're maintenance parts, not permanent fixtures.
In the DFW area, seal wear happens faster than in most regions. Hard water (7–17 GPG across DFW municipalities) leaves mineral deposits that accumulate on vinyl and rubber seals, making them stiff and brittle (Cardinal Glass 2025). The combination of calcium buildup, daily hot water exposure, and bathroom cleaning chemicals shortens seal life significantly compared to low-hardness water environments.
How Do You Know When Your Seal Needs Replacing?
A seal needs replacing when it no longer creates a continuous watertight barrier between the shower door and the adjacent surface. The most obvious sign is water on the bathroom floor after showering. But degradation often shows visually before leaking starts — catch it early and you'll prevent water damage to flooring and subfloor.
Signs of seal failure:
- Water appearing on the bathroom floor near the shower door after each shower
- Visible cracking, stiffening, or flattening of the rubber sweep
- Mold or mildew growing inside or around the seal that won't clean off — indicates the seal has separated and moisture is trapped beneath it
- The seal has turned from clear or white to yellow, brown, or opaque
- You can feel air moving under the door or see daylight at the base when looking from inside the shower
- Water stains on the floor tile immediately outside the door threshold
Water infiltrating under or around a failed shower door seal doesn't just wet the floor — it can penetrate beneath the tile, into the subfloor, and cause structural wood rot or mold that costs $1,000 or more to remediate (Fixr 2025). A $15 replacement seal prevents significant structural damage when replaced promptly.
What Are the Types of Shower Door Seals?
Understanding which type of seal you have is the most important step — it determines what replacement part you need and how it installs.
| Bottom sweep (U-channel) |
| Bottom wipe seal |
| Side wipe seal |
| Magnetic seal strip |
| Side jamb seal |
| Header seal |
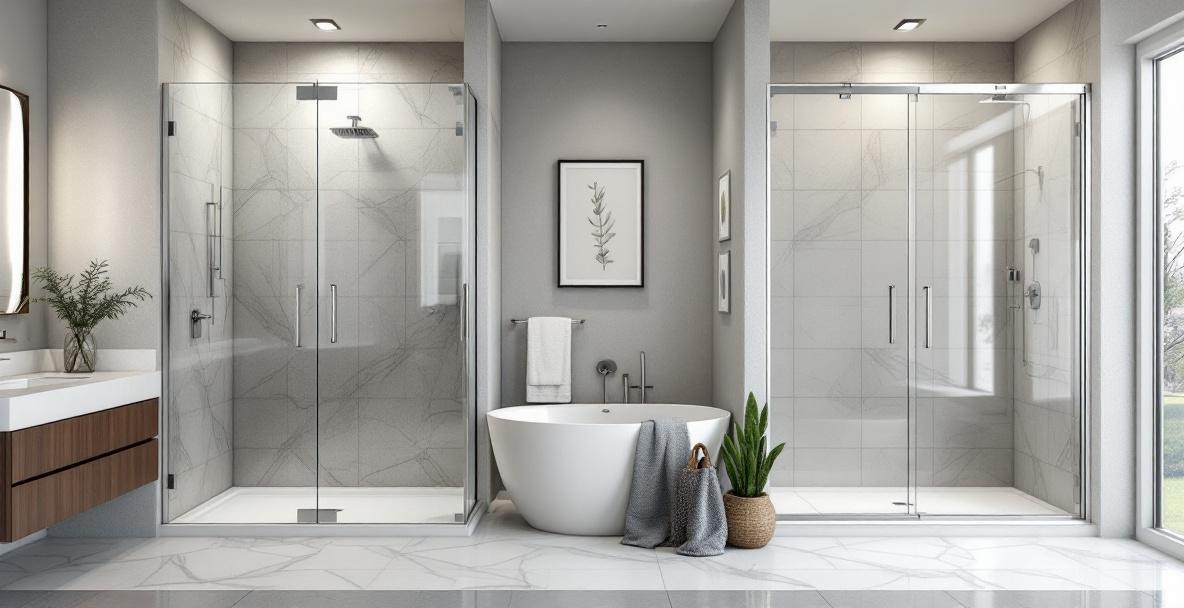
Frameless shower doors typically use a bottom U-channel sweep that slides onto the bottom edge of the glass, plus a vinyl wipe seal or magnetic strip along the side where the door closes. These are the most straightforward to replace.
Framed shower doors use seals integrated with the metal frame — typically a bottom wiper blade and side jamb seals that compress against the wall or adjacent frame. Replacement requires matching the original seal profile.
Sliding bypass doors use a bottom track wiper that contacts the floor track and a top guide seal, plus side jamb seals. Replacement is straightforward but requires the track to be clean and level.
What Tools Do You Need for Seal Replacement?
The replacement process requires minimal tools — most of the work is removing the old seal and cleaning the surface before installing the new one.
You'll need:
- Replacement seal (must match the door type and glass thickness)
- Utility knife or sharp scissors (to cut the new seal to length)
- Measuring tape
- Rubbing alcohol or acetone (to clean the glass edge before installation)
- Clean microfiber cloth
- Silicone lubricant or soapy water (to ease the new seal onto the glass edge)
- Tape measure
Before ordering a replacement seal, photograph the existing seal from multiple angles — top, side, and cross-section if the seal has pulled away enough to see its profile. Bring the photo or the old seal itself to a glass supplier or hardware store. Shower door seal profiles vary significantly and getting the wrong one means a second trip.
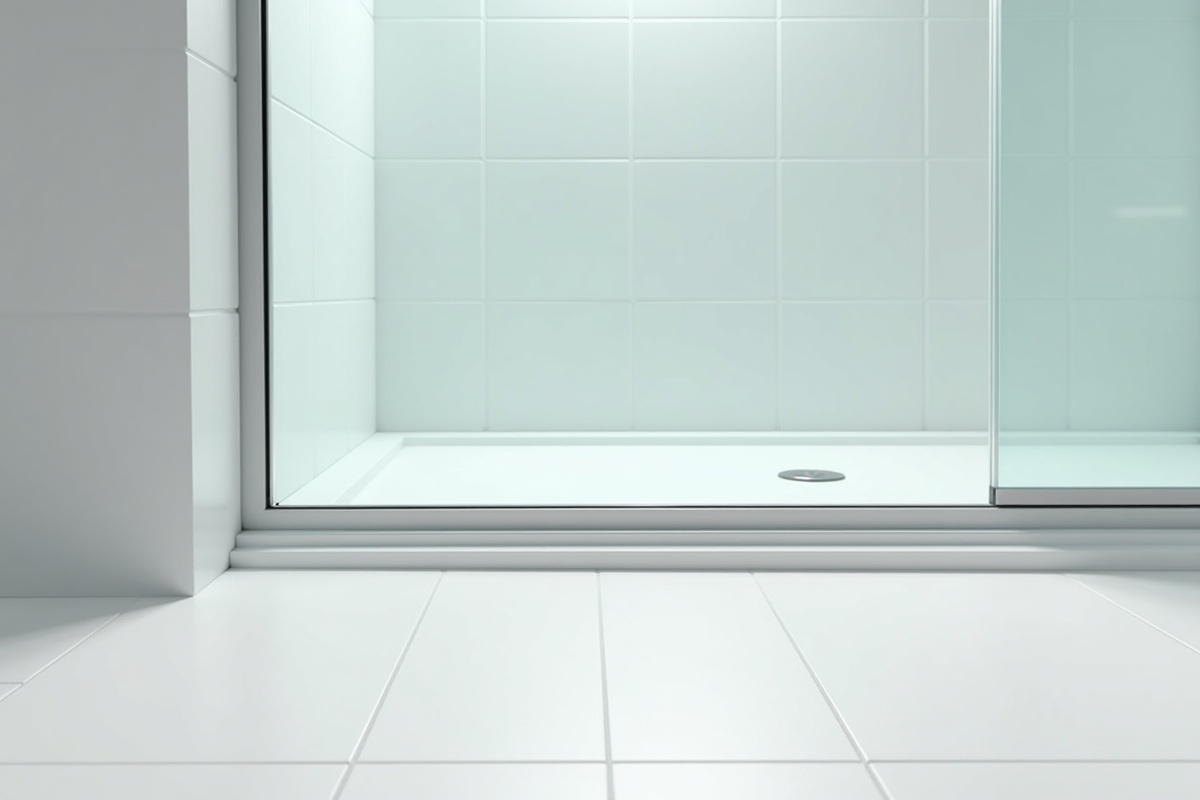
Step-by-Step: Replacing a Bottom Door Sweep
The bottom sweep is the most commonly replaced seal and the most straightforward to DIY.
- 1
Remove the old sweep
Most U-channel bottom sweeps simply slide off the glass edge — grip the end and pull firmly along the length of the door. If the seal is adhered with silicone caulk as well as the friction channel, use a utility knife to cut the caulk bead carefully before pulling. Avoid prying with metal tools against the glass edge.
- 2
Clean the glass edge completely
Use rubbing alcohol or acetone on a clean cloth to remove all residue, soap scum, silicone caulk remnants, and mineral deposits from the glass edge where the sweep will install. The new sweep must make clean glass contact — any debris under it creates a gap that leaks.
- 3
Measure and cut the replacement sweep
Measure the width of the door glass precisely. Cut the new sweep to length with sharp scissors or a utility knife. For a U-channel sweep, cut at a 90-degree angle — a clean square cut ensures the seal contacts the floor fully at both ends.
- 4
Lubricate and slide on the new sweep
Apply a thin bead of silicone lubricant (or dish soap diluted in water) along the interior channel of the new sweep. Starting at one end, work the sweep onto the glass edge, pressing firmly and sliding along the length of the door. The channel should grip the glass firmly with no gaps.
- 5
Test before sealing
Close the door and check that the sweep contacts the floor or threshold evenly along its full length. Open and close the door several times to confirm it doesn't catch. Run water in the shower for 2 minutes and inspect the floor for any leak points before considering the repair complete.
How Do You Replace Side Seals and Magnetic Strips?
Side wipe seals (frameless swing doors):
Side seals on frameless doors typically press onto the side glass edge and are held in place by the friction channel, often assisted by a small clip at the top and bottom. To remove: locate any clips and release them, then pull the seal away from the glass edge from one end. Clean the glass edge thoroughly with alcohol. Install the new seal by pressing it onto the edge from top to bottom, ensuring the wiping lip is oriented toward the interior of the shower (the wet side).
Magnetic closure strips:
Magnetic seals are used where a frameless door closes against another glass panel (rather than a wall). The magnet is embedded in a vinyl or rubber strip adhered to the door edge. To replace: peel the old strip off carefully, clean the glass edge with alcohol to remove all adhesive residue, and press the new magnetic strip firmly onto the glass edge following the manufacturer's adhesive instructions. Allow the adhesive to cure for at least 24 hours before using the shower.
What Are the Most Common Mistakes That Cause Leaks After Replacement?
Wrong seal profile: The most common mistake. Shower door seals have specific profiles matched to glass thickness (3/8-inch vs. 1/2-inch frameless glass; 1/4-inch framed glass). Using a seal designed for the wrong glass thickness means the channel doesn't grip properly and the door leaks immediately.
Skipping surface preparation: Installing a new seal onto a glass edge with silicone residue, mineral deposits, or soap scum prevents the seal from making clean contact. The old surface contamination creates micro-gaps that allow water through even on a new seal.
Incorrect orientation: Wipe seals and sweeps have a directional design — the wiping lip must face the interior (wet side) of the shower. Installing the seal backward means water pushes the lip open rather than compressing it closed.
Cutting too short: A bottom sweep cut even slightly short creates an open gap at one or both ends. Always measure twice and cut to the exact door width — the seal can compress slightly but cannot stretch.
Not testing before finishing: Running a test shower before applying any additional silicone caulk lets you identify leak points without trapping water behind a sealed-in problem.
When Should You Call a Professional Instead of DIYing?
Seal replacement is genuinely DIY-friendly in most cases. Call a glass professional when:
- The door itself is misaligned: If the shower door doesn't hang level or doesn't close against the seal evenly, the problem is hinge adjustment or frame alignment — not the seal. Replacing the seal won't fix the leak.
- The glass has shifted: Frameless glass panels that have moved out of position indicate a hardware or structural issue requiring professional assessment.
- Multiple seals have failed simultaneously: Multiple seals failing at once often indicates a water infiltration problem or tile failure behind the enclosure rather than simple wear.
- The door frame or track is corroded or damaged: In DFW's hard water environment, aluminum frames and tracks can corrode to the point where seal replacement doesn't fully resolve leaking. A new enclosure may be more cost-effective.
- You can't identify the seal type: A glass professional can identify your specific enclosure model and source the correct replacement parts — avoiding the cost of purchasing the wrong part twice.
How often should shower door seals be replaced?
Shower door seals typically last 2–3 years under normal use, according to industry guidance from suppliers like Window Hardware Direct (Grand View Research 2025). In DFW's hard water environment, mineral buildup and chemical cleaning exposure can shorten seal life to 18–24 months. Inspect seals every 6 months — when you see cracking, stiffening, or visible gaps, replace before leaking starts rather than waiting for water on the floor.
Can you replace a frameless shower door seal yourself?
Yes — the bottom U-channel sweep on frameless shower doors is one of the most straightforward DIY bathroom maintenance tasks. It requires no special tools, takes 5–15 minutes, and the replacement part costs $10–$30 depending on length and seal type. Side wipe seals and magnetic strips are also DIY-friendly. The main requirement is identifying the correct replacement seal profile for your specific glass thickness and door design.
How do you know what size seal to buy?
Measure your glass thickness first — frameless doors are typically 3/8-inch or 1/2-inch (10mm or 12mm) and framed doors are 1/4-inch (6mm). Measure the door width for length. Take a photo of the existing seal's cross-section profile — the shape of the channel and wipe lip varies by manufacturer. Bring these measurements and the photo (or the old seal itself) to a glass supplier or home improvement store. Online suppliers like Dulles Glass or glass door hardware retailers also sell seals by glass thickness and profile type.
Why does my shower still leak with a new seal?
The most common cause is that the door is misaligned — the seal is correctly installed but the door doesn't close evenly against it, leaving gaps. Check whether the door closes fully and whether the sweep contacts the floor uniformly along its entire length. Other causes: wrong seal profile for the glass thickness, seal installed backward (wipe lip facing the wrong direction), or the floor threshold itself is uneven. If the door is misaligned, the hinges need adjustment — a glass professional can diagnose this quickly.
Where can you buy shower door seals in the DFW area?
Home Depot and Lowe's locations throughout DFW carry basic shower door sweeps and seals. For frameless shower-specific seals, glass hardware suppliers and glass shops in the DFW metro are better sources for specific profiles. Online retailers (Dulles Glass, Coastal Shower Doors parts, Amazon) carry a wider selection and allow you to filter by glass thickness and seal type. When in doubt, contact the original shower door installer — they can often source the correct replacement part directly.
Also see our frameless vs. framed shower door comparison and our guide to cleaning frameless glass shower doors.
Infinity Glass & Glazing serves the DFW metro from Corinth, TX — providing custom frameless shower door installation, hardware replacement, and glass repair across Denton, Lewisville, Flower Mound, Frisco, McKinney, and surrounding communities. If your shower door is leaking and you're unsure whether it's a seal issue or something more, contact us for a free estimate and we'll diagnose it quickly.
Related reading: