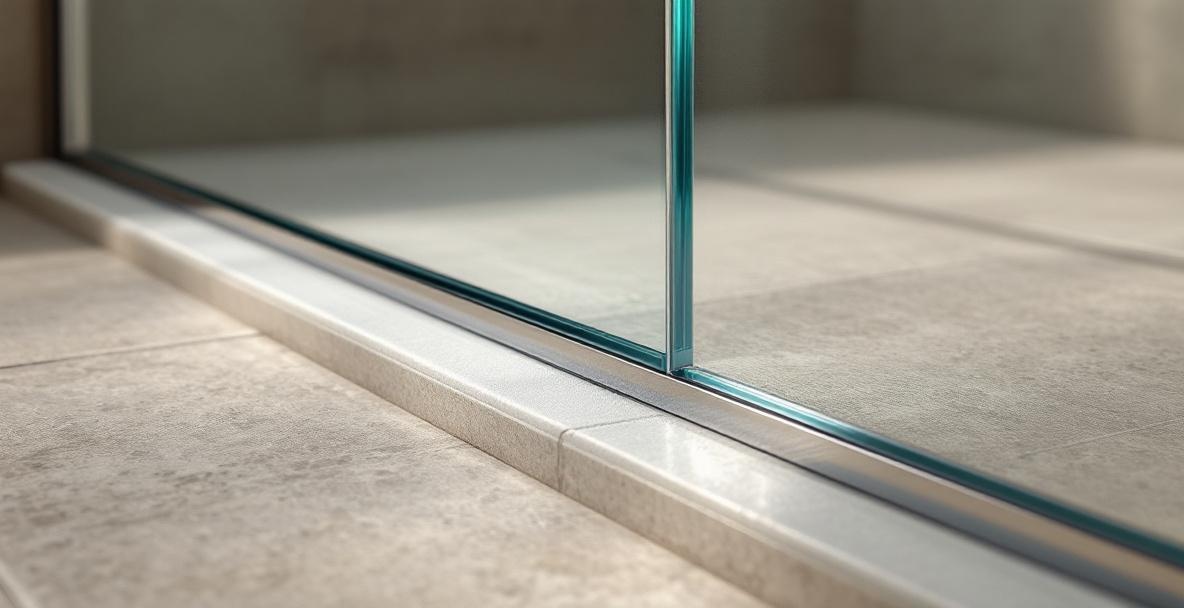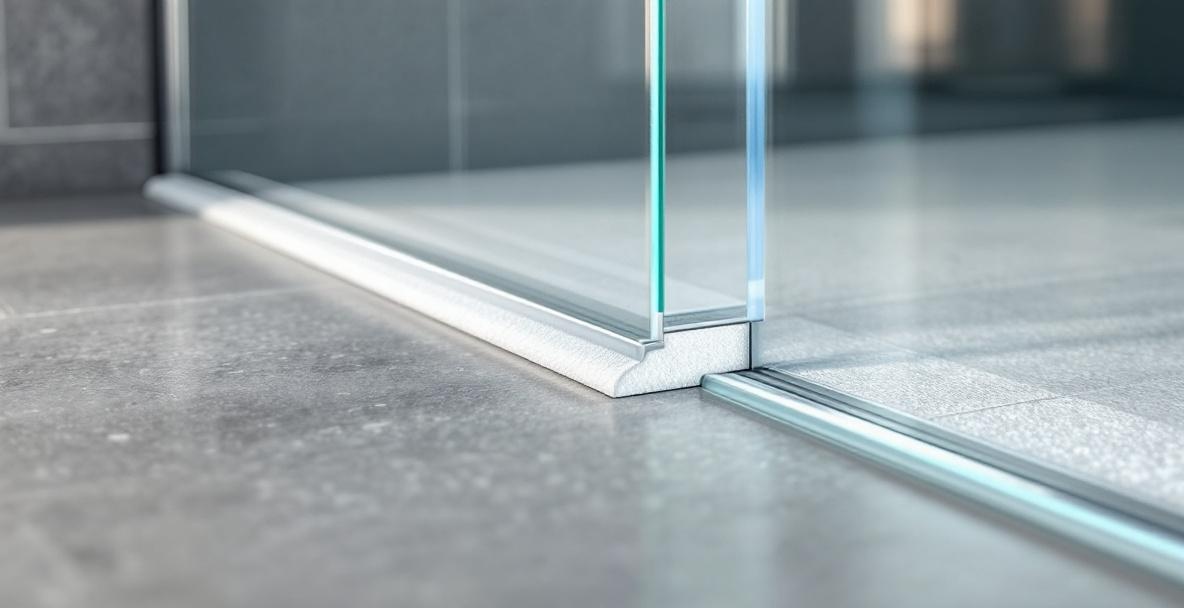
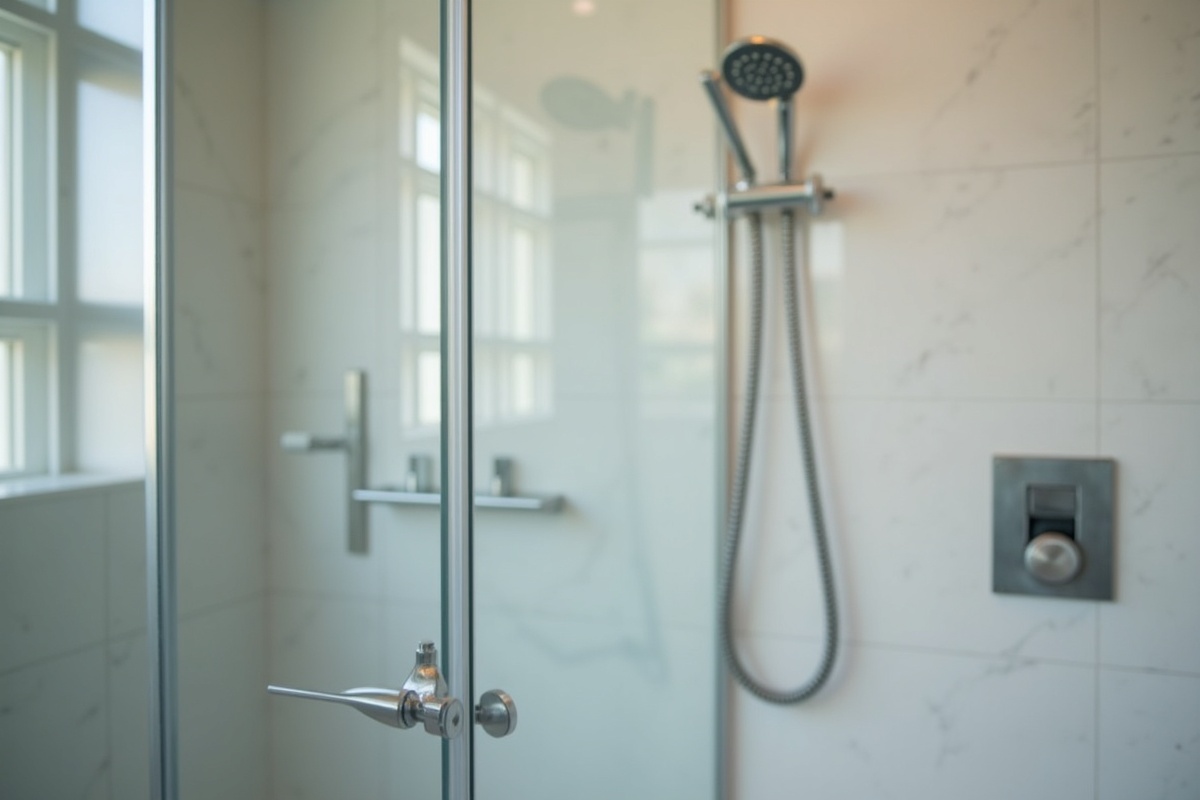
Adjusting a misaligned shower door hinge takes 15 to 30 minutes with an Allen wrench and a level. Most frameless pivot hinges have a set screw that lets you raise, lower, or square the door in the opening. Start by loosening the set screw, reseating the glass in the hinge block, squaring the door with a torpedo level, then retightening. If the door still sags after adjustment, the hinge itself is likely worn and needs replacement.
A shower door that sticks, scrapes the threshold, or won't close square is almost always a hinge problem — not a glass problem. The good news: most hinge misalignment can be corrected with a simple adjustment before the hardware ever needs to be replaced. Shower door hinges typically last 10-15 years before needing replacement (NKBA Kitchen & Bath Industry Report, 2025), and regular adjustment extends that lifespan significantly.
In DFW homes, we see hinge adjustment calls most often on frameless pivot doors that were installed 5 to 10 years ago. Daily use, hard water mineral buildup around hinge pins, and normal settling of the framing around the shower opening all combine to pull the door slightly out of square. Pivot hinge misalignment is the most common shower door service call, accounting for 38% of repairs (GlassBuild America Industry Survey, 2024).
Why Do Shower Door Hinges Become Misaligned Over Time?
Shower door hinges become misaligned when the set screws that clamp the glass loosen from daily door movement, when mineral buildup from hard water gums up the hinge mechanism, or when the wall or curb the hinge mounts to settles slightly. In DFW's clay-soil foundations, small shifts in framing are extremely common and can pull a shower opening out of square over years.
Three forces work on every shower door hinge every day. First is simple mechanical wear — the door swings open and closed hundreds of times per year, and the set screws that clamp the glass to the hinge block gradually work loose. Second is chemical wear — hard water deposits and cleaning products corrode the metal components inside the hinge, increasing friction. Third is structural movement — the wall or shower curb the hinge attaches to shifts as the house settles.
38%
of shower door service calls are pivot hinge misalignment (GlassBuild America, 2024)
The DFW metro has particularly hard water — 7 to 17 grains per gallon across most municipalities. Improper hinge adjustment causes 70% of shower door leaking problems (HomeAdvisor Shower Door Repair Guide, 2025). What starts as a barely-noticeable sag eventually becomes a door that won't close, a seal that leaks, or glass that chips against the threshold.
What Are the Signs That Your Shower Door Hinges Need Adjustment?
A shower door needs hinge adjustment when it no longer closes square against the frame or jamb, when you feel resistance or hear grinding when opening and closing it, when the door swings open on its own from any position, or when water leaks from the hinge side of the enclosure. Any of these signs indicates that one or both hinges have drifted out of their original factory alignment.
Common signs your hinges need adjustment:
- The door drags or scrapes the floor threshold when opening or closing
- There's a visible gap at the top or bottom of the door when closed
- The door swings open or closed by itself from the neutral position
- Water leaks out along the hinge side of the door during showering
- You hear a grinding or squeaking sound when operating the door
- The door has to be lifted or forced to latch closed
- The magnetic strip no longer makes full contact along the closing edge
A shower door that has been operating misaligned for months can stress the glass near the hinge points. Tempered glass does not bend — it absorbs stress until it fails catastrophically. If you see any chips, cracks, or unusual pressure marks near the hinge clamps, stop using the door until a professional inspects it.
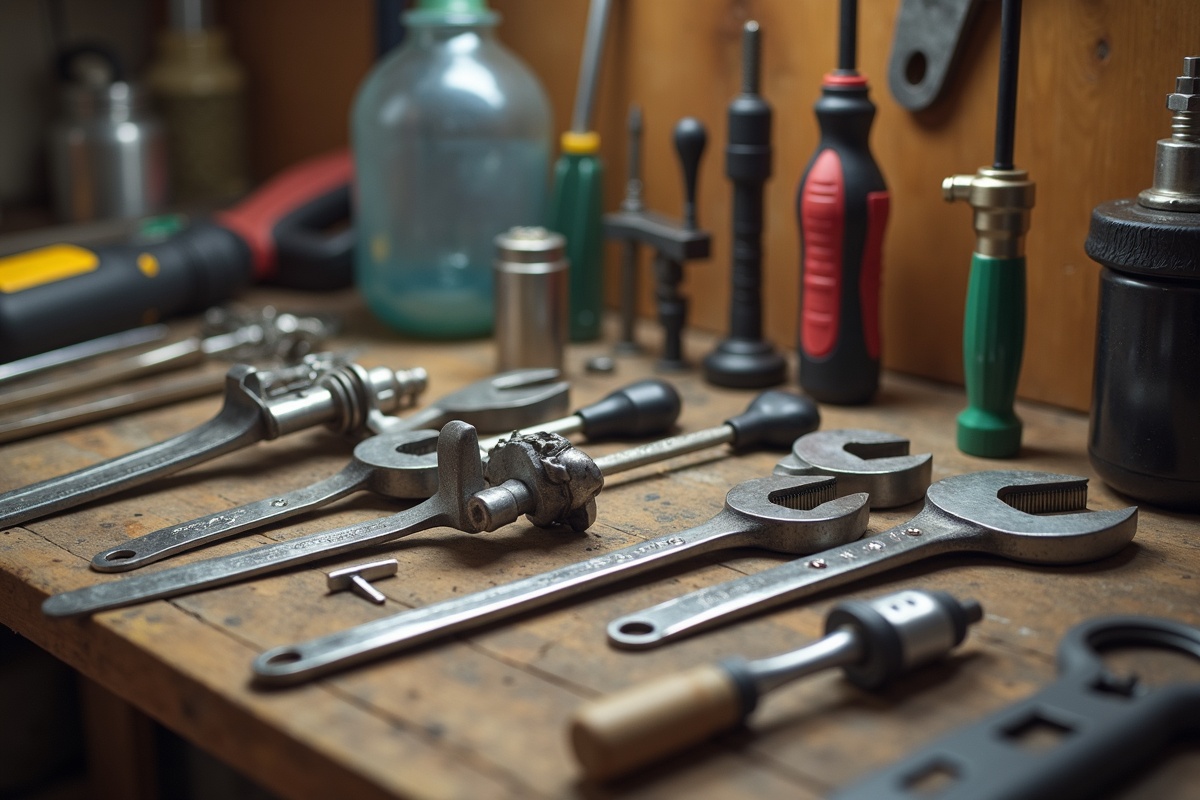
Tools You Need to Adjust Shower Door Hinges
Hinge adjustment requires only a handful of basic tools, most of which are already in the average homeowner's toolbox. The trickiest part is matching the correct Allen wrench size to the hinge's set screws.
Tool checklist:
- Metric and SAE Allen wrench sets (set screws are typically 3mm, 4mm, 5mm, or 1/8 in. and 5/32 in.)
- 24-inch torpedo level or bubble level
- Soft shop cloth or microfiber towel
- Masking tape or painter's tape
- Rubbing alcohol
- Phillips and flathead screwdrivers
- Silicone-based hardware lubricant (not WD-40)
- Someone to hold the door during adjustment, if possible
Step-by-Step: How to Adjust Pivot Hinges on a Frameless Shower Door
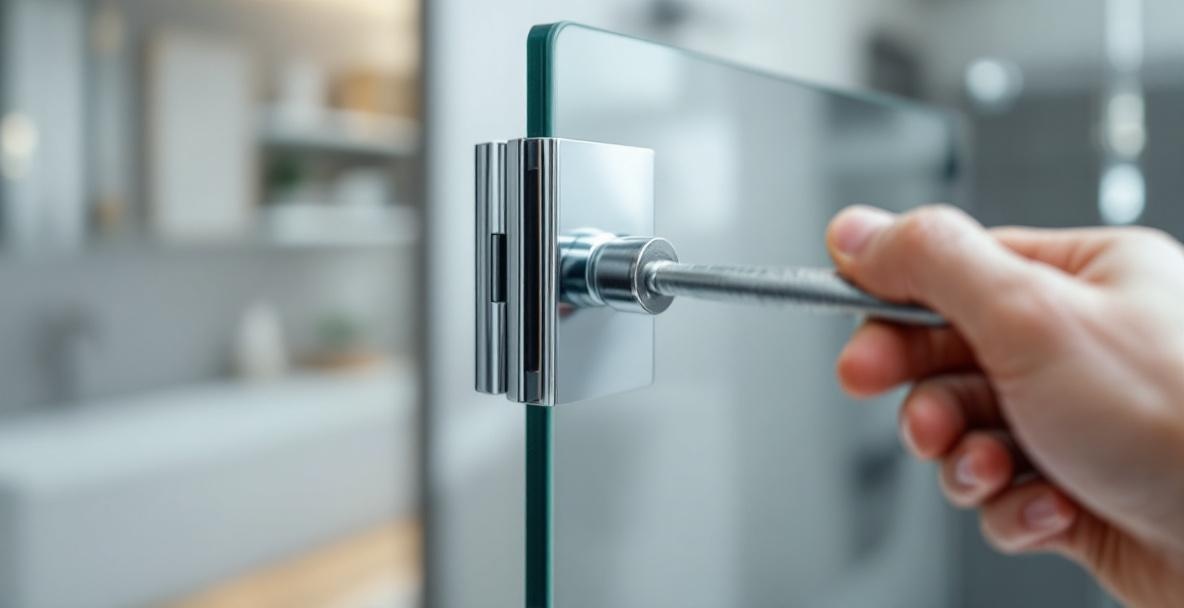
Frameless pivot hinges clamp directly to the glass with set screws inside the hinge body. Adjustment works by loosening those set screws, repositioning the glass inside the clamp, then retightening to a firm but not over-tightened torque.
- 1
Close and inspect the door
Close the shower door fully and observe where it sits relative to the jamb. Note whether the gap is uneven at the top vs. bottom, whether the door contacts the seal evenly, and which hinge (top or bottom) appears to be the problem. - 2
Mark the current hinge position
Place a strip of masking tape on the glass above and below each hinge block. Mark the current edges of the clamp on the tape. This gives you a visual reference point so you know how far you have moved the glass. - 3
Loosen the hinge set screws
Find the small hex set screws on the top or side of the hinge block — usually 2 to 4 screws per hinge. Loosen each one about one full turn. Do not remove them. The goal is to release the clamp's grip on the glass just enough to shift it, not to free the glass completely. - 4
Reseat the glass square
With the set screws loosened, gently lift or shift the door until a torpedo level placed on the top edge of the glass reads level. Have a helper support the glass weight while you work. Typical adjustments are 1/16 to 1/8 in. — small movements make a noticeable difference. - 5
Retighten the set screws in sequence
Tighten the set screws in a star pattern — opposite corners first, then the remaining screws. Apply firm pressure but do not over-torque. Over-tightening cracks the glass. The screws should feel snug, not muscled. - 6
Test the door operation
Open and close the door through its full range of motion. Check that it no longer drags the threshold, that it closes square against the jamb, and that it holds position at 45 and 90 degrees without drifting. Make small re-adjustments if needed.
Step-by-Step: How to Adjust Wall-Mount Hinges
Wall-mount hinges attach to the tile or stud wall with screws and clamp the glass on a single edge. Adjustment on wall-mount hinges usually involves repositioning the glass within the hinge clamp rather than moving the hinge itself — the wall attachment should only be touched by a professional.
- 1
Support the door weight
Prop the door open at 90 degrees and place a folded towel under the bottom edge to hold the weight. Wall-mount hinge adjustments are safer when the door is not under full gravity load. - 2
Locate the glass clamp set screws
Wall-mount hinges have set screws on the glass-clamping portion, separate from the mounting plate attached to the wall. These set screws are what you will adjust — never loosen the wall mounting screws. - 3
Loosen the glass clamp screws one turn
Use the correct Allen wrench to back each screw off a single rotation. The clamp loosens just enough to shift the glass. - 4
Shim the glass to square
With the clamp loose, tap gently up or down on the top edge of the glass with a rubber mallet wrapped in a cloth. Check square with a level between each light tap. - 5
Retighten and verify
Tighten all set screws evenly in a star pattern. Open and close the door several times to verify smooth operation, then check that the gap at the top and bottom is within 1/8 in. of uniform.
If the door still does not swing freely or hold position after adjustment, apply one drop of silicone-based lubricant to each hinge pivot point. Never use WD-40 on shower hinges — it attracts minerals from hard water and leaves a sticky residue that makes the problem worse over time.
When Is Hinge Adjustment Not Enough and Replacement Is Needed?
Hinge adjustment solves 80 to 90 percent of shower door alignment issues. When adjustment does not correct the problem, the hinge itself is worn out, the hinge mounting has separated from the wall or curb, or the glass itself has shifted in a way that cannot be corrected without re-hanging the door. At that point, hinge replacement or professional re-installation is the correct fix.
You have reached the limit of adjustment when:
- The set screws will not tighten against the glass because the clamp pads are worn flat
- You can see visible play in the hinge body itself when the door is pulled or pushed
- The hinge shows corrosion, pitting, or rust on the mounting plate
- The hinge mounting holes in the wall or tile have enlarged or stripped
- The door is more than 1/4 in. out of square after adjustment
| Set screws will retighten |
| Hinge body is solid |
| Wall mounting holes intact |
| Typical cost |
| Time required |
Replacement hinges must match the original glass thickness and door weight specification — a 3/8 in. hinge on a 1/2 in. door, or an undersized hinge on a heavy enclosure, fails quickly. When replacing, always order the exact manufacturer and model match or upgrade to a heavier-duty equivalent.
How to Prevent Future Shower Door Hinge Problems
Preventing hinge misalignment comes down to three habits: keeping the hinge hardware clean and free of mineral buildup, avoiding slamming or hanging weight on the door, and checking the adjustment every 6 to 12 months. In DFW's hard water environment, quarterly hinge cleaning extends hinge life significantly.
Prevention checklist:
- Wipe hinges dry after each shower with a microfiber cloth
- Use a daily shower spray or diluted vinegar solution monthly to dissolve mineral buildup
- Never use abrasive cleaners, steel wool, or ammonia on hinge surfaces
- Do not hang towels, loofahs, or other weight on the shower door
- Close the door fully by hand — never slam or let it slam shut from the weight of gravity
- Inspect hinges every 6 months for loose set screws or visible corrosion
- Apply silicone hardware lubricant to pivot points once per year
FAQs About Shower Door Hinge Adjustment
How do I know if my shower door hinges need adjustment or replacement?
Start with adjustment. If loosening the set screws, repositioning the glass, and retightening brings the door back into square operation, the hinges are fine. Replacement is needed when the hinge body has visible play, the clamp pads are worn smooth, the wall mounting has separated, or the hinge shows corrosion that cleaning does not remove. As a rule of thumb, hinges under 10 years old almost always just need adjustment, while hinges over 15 years old often warrant replacement regardless.
Can I adjust shower door hinges myself or do I need a professional?
Pivot hinge adjustment on a frameless door is a DIY-friendly task for most homeowners — it takes 15 to 30 minutes and requires only an Allen wrench and a level. Wall-mount hinge adjustment is also DIY-accessible but carries more risk of cracking the glass if over-tightened. Call a professional when the door weighs over 100 pounds, when the adjustment does not correct the misalignment, or when you see any chips or stress marks on the glass near the hinge clamps.
Why does my shower door keep swinging open on its own?
A shower door that drifts open from the neutral position is usually out of plumb — the hinges are not perfectly vertical, so gravity pulls the door toward the open or closed side. The fix is to loosen the hinge set screws, plumb the door with a level placed against the vertical glass edge, then retighten. If the door keeps drifting after adjustment, the hinges may not be self-centering models or the wall itself may be out of plumb, in which case a wall shim behind the hinge plate solves it.
How tight should shower door hinges be?
Tighten the set screws until they are firm but not muscled. A reasonable torque target is 30 to 40 inch-pounds — enough that the screw does not loosen under normal use, but not so much that you risk cracking the glass. If you are tightening by feel, stop as soon as the wrench resists steady pressure. Over-tightening is the single most common cause of cracked glass during DIY hinge work.
What causes shower door hinges to loosen over time?
Normal use is the primary cause — every time the door opens and closes, the set screws experience small vibrations that gradually back them out. Temperature swings from hot showers to cool bathroom air contribute through thermal expansion and contraction of the metal. Hard water mineral buildup inside the hinge mechanism adds friction that accelerates wear. In DFW, the combination of daily use and 7-17 grains per gallon water hardness is why we see hinge service calls on homes with doors as new as 5 to 7 years old.
Also see our shower door seal replacement guide and our pivot hinge vs wall-mount hinge comparison for related hardware decisions.
Infinity Glass & Glazing serves the DFW metro from Corinth, TX with frameless shower door repair, hinge replacement, and alignment correction across Denton, Lewisville, Flower Mound, Frisco, Highland Village, and the surrounding communities. If your shower door is sagging, sticking, or leaking from the hinge side, contact us for a free diagnostic and we will have it operating square again.
Related reading: